Hey guys! I know I said that I would post soon, and so here is a new post! I recently purchased the Clover Mini Iron and I've been wanting to do a project with it! This post will be a tutorial and a review. I did a tutorial similar this about a year ago (Click Here to View It). So, let's get started!
- Materials Needed:
- Clover Mini Iron
- Flip-Flops/Slides
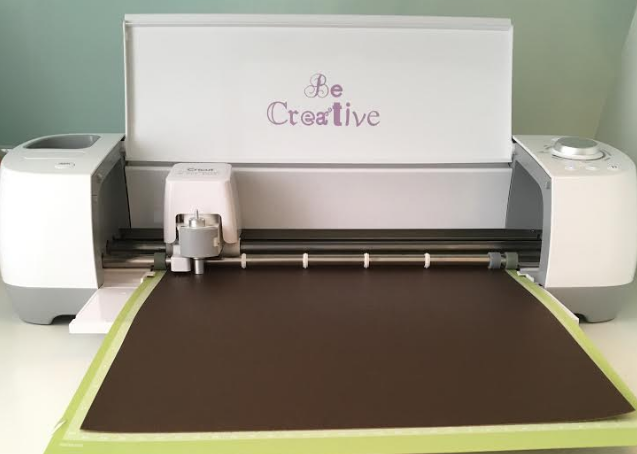
- Cricut or any Die-cut machine
- Heat Transfer
- Cloth - Dish cloth and something similar to it
- Parchment Paper
- Create your design and cut it out. Whenever you cut it out, make sure you image is mirrored or flipped.

- Next, I prepped my work space. I put cloths in the flip-flops to hold them up while ironing the design down. I placed my design down and placed parchment paper over-top of the design.

- Finally, I began to iron the design on. I applied medium pressure while ironing.


Here are my final results!