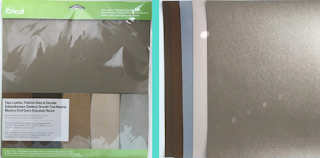
Last week I ordered a pack of the Cricut Faux Leather! I was extremely excited to receive the package. As soon as I got it, I knew straight away what project I was going to do! The very first design that I put together would have been a really cute bracelet but I tried cutting it out twice and it didn't work out very well. I learned you can't do an intricate design with this faux leather. So, I created a different design. I only used the shapes provided in the Cricut design space and I used the welding tool in the design space to create my design. So, Let's get started!
- Measure your wrist using the measuring tape. This is so you know how long you need to make your bands.
- Create the design that you want for your bracelet and make sure you make the length of the bracelet the length of your wrist and leave about a quarter of an inch for extra space. When I created the design, I added little circles at the end of each piece so I could put the jump rings through!
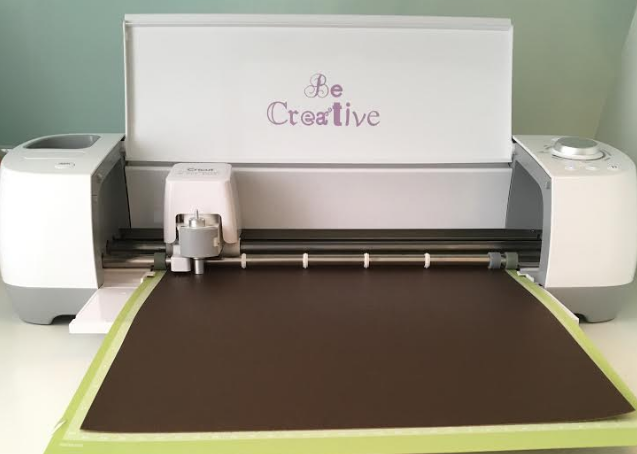
- Cut out your design. Make sure you put the setting on the Cricut Faux Leather. The main thing that I don't like about the Cricut Faux Leather is the setting that you have to use for cutting because it goes over the design twice and there's no way you can change it.
- Next, since you can't cut out an intricate design with the faux leather, I cut out heat transfer vinyl to create my design.
- Iron your heat transfer vinyl onto the faux leather. I was a little worried about this part because I wasn't quite sure if the heat was going to melt the faux leather.
- Finally, I started to connect the bracelet with jump rings!
I absolutely love the result of the project! If you want to see another post that includes faux leather go check out my post from a couple weeks ago,
Faux Leather Flip Flops. Make sure you check back in next week for a new post!